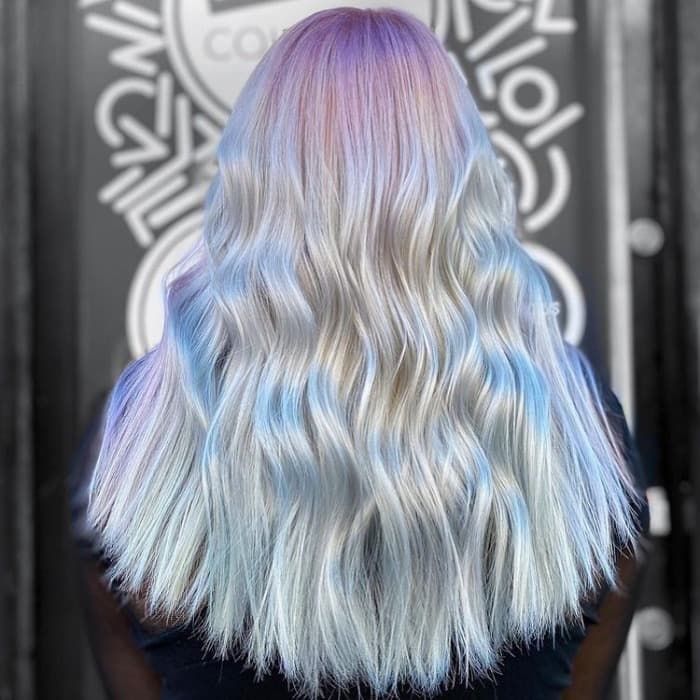
Unless you’re some sort of miraculous superhuman, you probably don’t have white hair naturally.
White no longer symbolizes age, neither it does symbolize purity – in 2023 all shades of deep blonde turn heads, prompting you to tilt your head and wonder – how does it look that good? It’s along the same lines as metallic hair – on paper, it sounds absurd; but on people, it looks stunning. And while it looks the perfect combination of elegance and fierce, the process of getting it that way is another story.
It’s a well-known fact that having white locks is like havina a Porshe: to make it look great, you need to take proper care of the color, which is rather pricey and time-concuming. However, it’s definitely worth it!
And we will tell you how to achieve this trendy white with minimum harm to your hair. Are you ready?

@rachelwstylist
Step 1: Prep
- Shampoo and condition with Pantene Pro-V
“If you’re planning to go white, it is a really good idea to start prepping your hair beforehand so that the whole process is a lot less damaging,” said John Hathaway, a hairstylist from Salon Republic, Beverly Hills Wilshire.
“If I can work with a client who gives me a heads up that they’re planning on going icy platinum, with a good amount of time for them to start prepping hair before the treatment process, it’s a really good idea. I tell everyone to use Pantene Pro-V 3 Minute Miracle before their appointment – it works really well for bleached hair.”
@kelsey.mtl
Step 2: The Process
- Lighten the hair with bleach treatment (include bond builder)
- Tone to remove brassiness
- Repeat (up to 2-3 times)
To achieve the bold white look, you’ll have to foil a full head with bleach, including the roots. When it comes to going this light, we like to say that miracles don’t happen overnight – it’s a transition. Going white, or icy platinum looks a lot different than simply coloring your hair a more natural shade.
Through this transitional period, you may have to foil the entire head two or three times to get the color as white as you want. Once the bleaching process is complete, the hair is toned to remove any brassy hues and brighten it to the desired white color.
Typically, you can foil hair that many times over the course of a week, with at least a day in between each treatment, but sometimes it can go for a couple of weeks, depending on your sensitivity. (Your tolerance depends on how often you bleach your hair and if you have color-treated hair already).
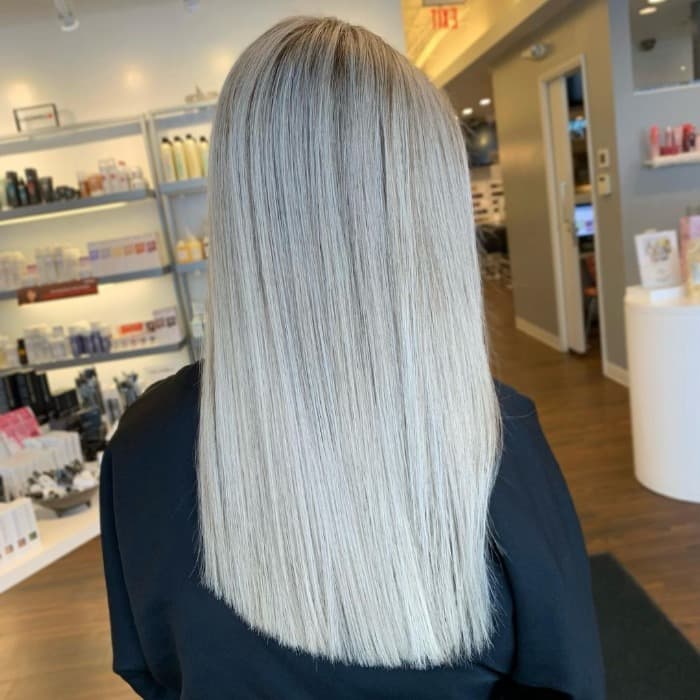
@mattrudolphh
To protect hair, stylists recommend a bond-protecting product (Brazilian Bond Builder is amazing) to help with chemical damage. The bond builder is very easy to administer into the hair color and works great.
A common obstacle that stylists run into is when hair starts yellowing or appearing orange. From start to finish, you have to lift out all of the hairs’ pigment with however many steps it takes. So, if the color is not lifted light enough, the stylists can’t tone it to the proper whiteness.
“You can also get to a level where you’re almost to the proper color, but you don’t feel like you should bleach it anymore to avoid excessive damage,” John said. “In that case, I would use hi-lift hair color to equalize that yellow and to make it a clearer, brighter white.”
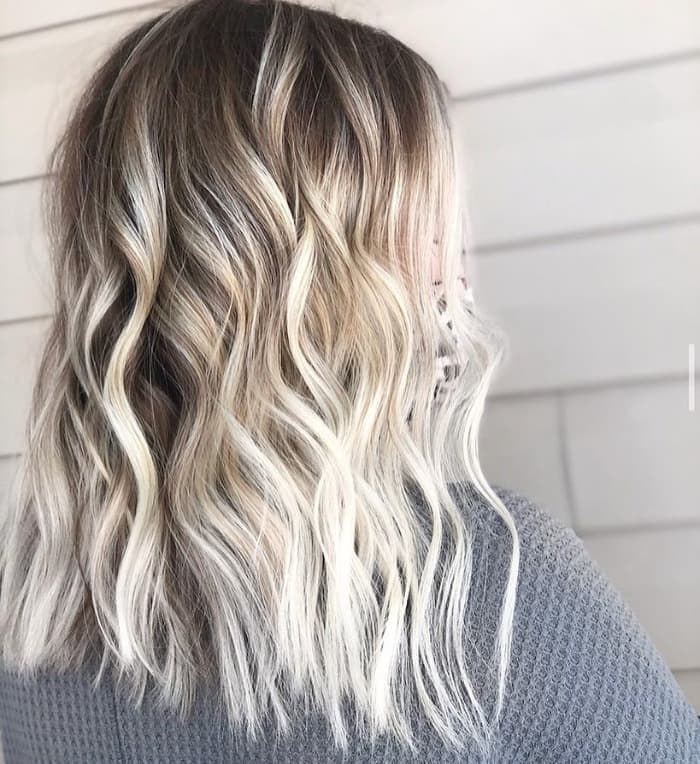
@thecellarsalonyeg
Maintenance
- Condition
- Touch up roots
- Use purple shampoo
- Re-tone every two to eight weeks
When you put your hair through such a strong treatment, maintenance is everything, especially for ultra-light blondes. If you’re willing to invest in the hair color, you have to be willing to invest in the upkeep that follows, like proper protecting, shampooing, and conditioning products.
“Olaplex is something you can use at home to continue the process of rebuilding the bonds,” John said. “Again, I tell most of my clients to use Pantene Pro-V. That is my number one recommendation.”
Stylists also recommend a purple shampoo to avoid brassiness.
On top of investing in products, it’s just as important to invest in frequent touch-ups. If you want to keep the super-white look, roots will need to be touched up every four weeks. Since the 90s root look is back in, you can totally get away with letting them grow out for a little longer – but, the longer you wait, the greater chance you have of yellowing. You’ll also need to re-tone your hair every two to eight weeks depending on how your color fades.
“I do a lot of bleaching, and I have a lot of clients with white, white, white hair — so no matter how careful we are, and whatever we do, it’s still damaging," John said. "To get that color and stay that color, you have to get your roots done all the time because the look is so bright.”
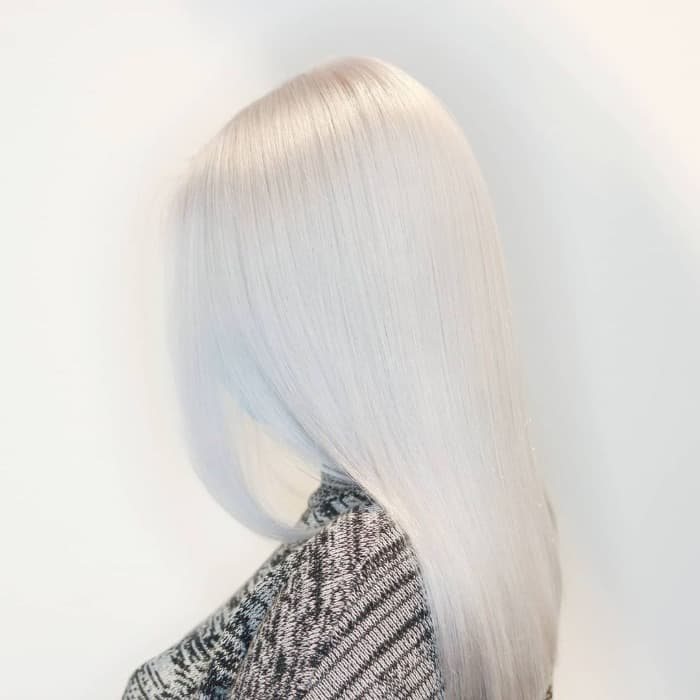
@mr.mishwu
Going Back To Natural After White
Whether you’re over getting your roots touched up, or you just want something new, you’ll probably end up wanting to try out a different color at some point after playing around with white. And just as going white is quite the process, going more natural won’t happen overnight, either.
“Going back to your natural color is a multi-step process, as well,” John said.
“When hair is bleached out that light, there is absolutely no color left, so you have to rebuild the hair color like you’re building a house from the foundation up. It’s a lot of toning, and it can be weekly appointments to keep the color from fading, as well as careful maintenance at home.
Some people choose to use color-enhancing shampoo if they’re trying to achieve a darker color. It really is just as arduous a process as removing the color; it just doesn’t hurt the scalp as much.”

@kelsey.mtl
DIY
If you’re certain about going white, you should definitely consult a professional, rather than doing it yourself. There are too many challenges and safety hazards to risk damaging your hair beyond repair. However, there is a way to try white out on your hair – temporarily, that is. With hair chalk, you get a bold look without having to go through the same arduous, expensive process as you do with bleaching.
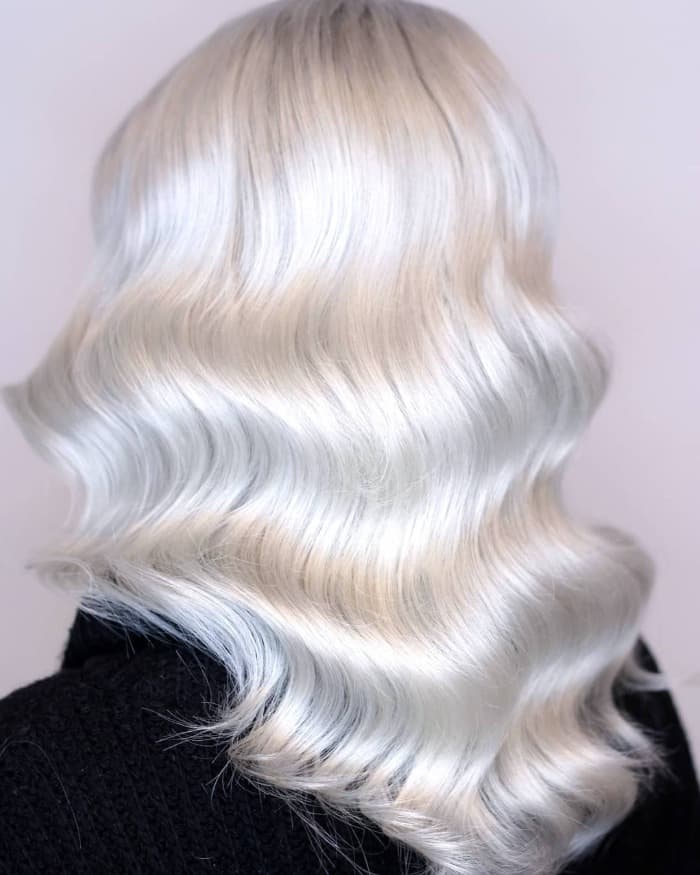
@mr.mishwu
Follow our quick guide below to try out white hair:
Materials:
• White hair chalk
• Jar of water
• Hairspray
• Blow-dryer
Process:
• Wet hair on the areas that you want to apply the hair chalk.
• Rub the tip of the chalk all over your hair. You may mix water and chalk together before applying.
• Comb through the wet area, and blow dry
• Spray with hairspray to seal the product, and style as usual.
This temporary solution lasts a few days and can be washed out with shampoo.
To learn more about dying your hair in unique, trendy shades, check out our thoughts on other dye-worthy colors. Also, check out these Hairstyle Ideas for Teenage Girls
